Dr. William D. Hunter performs a minimally invasive TLIF L5-S1 fusion in Gastonia, N.C. Watch as the intra-operative procedure is performed.
TRAnscript:
This video is reviewing the maximum access transforaminal lumbar interbody fusion. The MRI here shows the boxes are the bones, between the bones the disk spaces, and the white where the nerves are running. The last disk space is shorter in height, and there’s a herniated disk (the black area) pressing on the area white area where the nerves are. This is the plan for attack to perform a fusion surgery. The patient is in the prone position, properly prepped and draped, and then we make small skin incisions the size of a finger to go ahead and place the screws in place. We dilate the muscles. We’re not stripping any muscles, only dilating the muscles. We’re putting the screws in first. We’re putting two screws in at l5 and also s1, and between the two screws is the disk space that we’re going to attack. We use the monitoring system to make sure that when we’re putting the screws in that we’re in the safe zone. Because we’re using the small skin incisions, we use the C arm, the x-ray machine, as well as the monitoring system to make sure we’re safe. Green means we’re safe, and we’re going to go ahead and proceed in placing the screws in the area of where they should be within the vertebral bodies going through the pedicles. So there are pedicle screws being placed. Once the screws are placed - we have two screws in place (one at l5 and one at S1) - we then go ahead and we’re going to take the disc out between the two screws. Once we have the screws in place, we place the retractor and make a skin incision between the two screws, and now we have basically the size of two fingers to put attack the disk space. You can see here drilling down this is exactly what I see in the operating room. Between my drill right there you can see the two screws that are on either side. We drill down the bone. We’re getting down to where the disk space is. The disk space is covered by bone, so we remove the bone, and we’re going to go attack between the two screws where the disk space is. We’re now opening up the space for the nerves to run through. We identify the nerves, and we go ahead and take the disc out that’s causing the pressure. We remove the herniated disc and we’re taking the rest of the disc out. Once we take the rest of the disc out, you can see we have an instrument inside the disc space. Now, the disc space has been removed, and now we have to size up the disc space. We go ahead and put trials in so we can use the correct size, and we can jack that disk space up, which allows the nerves to have more room to run through. Here, we’re tapping in the trial to make sure that we’re all in the correct space and size. We then use the actual graft itself, and we place the graft inside that space. Then once we do that, we go ahead and put the rod between the two screws, torque it, and then we go ahead and remove the retractor system. We close the area up, and we’ve performed our procedure within a matter of minutes, we’ve now performed our fusion. You can see that there are the screws there. The top screw is the l5 screw, and the bottom screw is the s1 screw. There’s the l5, and s1. Between the screws of the rod is the rod, and inside that disk space it’s been jacked up, and we now have a graft inside the disk space, and you can see the hash marks show on the back and the front. That’s the procedure in performing our mass TLIF.


 Many people enter the new year already dealing with lingering neck or back pain and simply learn to live with it. Pain that lasts longer than a few weeks, continues to return, or interferes with daily activities is not normal and should be evaluated.
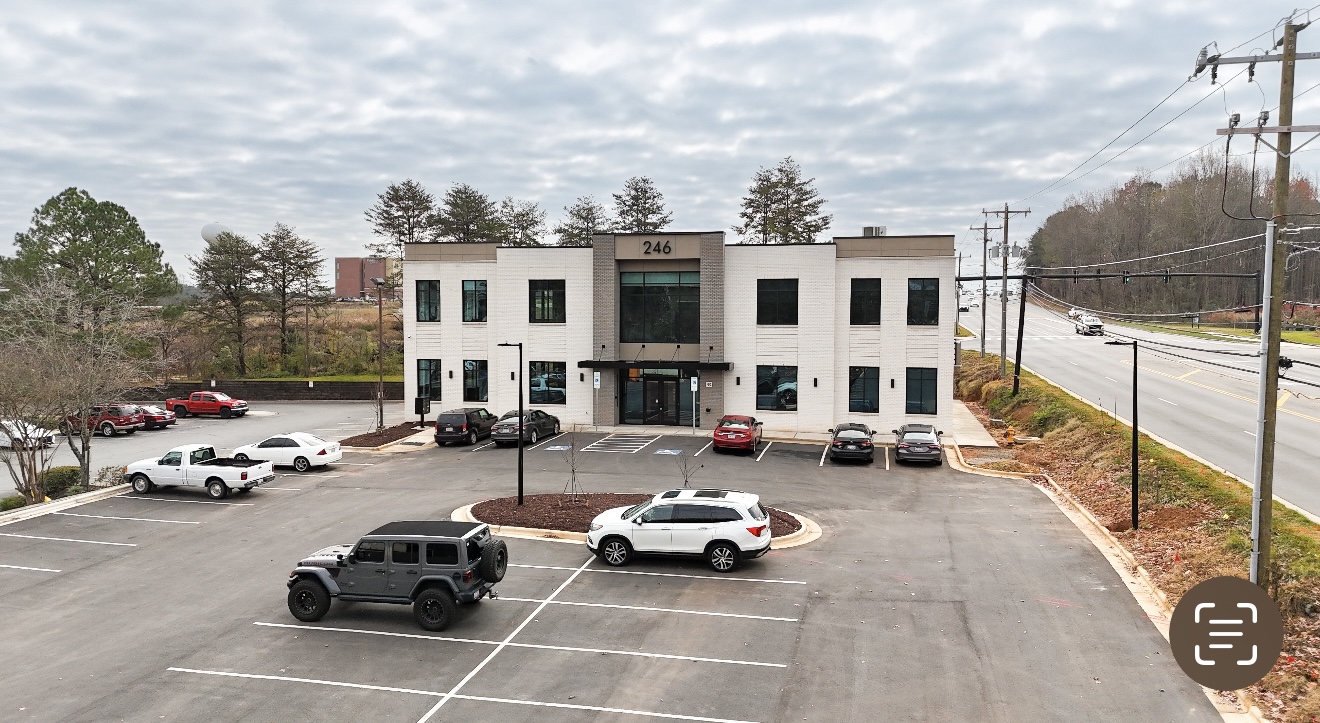
 246 Beatty Drive, Suite 100
 Under the leadership of
  We look forward to welcoming patients to our new Belmont office in January 2026.