Dr. William D. Hunter of Gastonia, N.C., performs an XLIF® procedure. The nerve featured here was found to be in the anterior position. It is safer to have the nerve placed posteriorly. The video demonstrates a technique used to safely place the nerve in the posterior position. Once the nerve’s position is altered, the XLIF® procedure can continue – the disk can be removed and the graft can be placed.
Transcript:
Hello, this is a video to describe how to move the femoral nerve posteriorly safely when performing an XLIF procedure. After making the skin incision, you can see there’s a fat plane which we dissect through. Once the fat plane is identified we can then identify the fascial plane which is above the muscle area. We clearly can see the muscle plane, and you need to clearly identify the muscle region. Taking the fascial plane away from the muscle is important. This then allows us to enter into the retroperitoneal space using a single finger dissection. Once in the retroperitoneal space, we can then place our initial dilator. The black dilator then goes on top of the psoas muscle, and then using the neural monitoring system, we can traverse through the psoas muscle. This is going to help identify where the nerve is located - whether it’s anterior, superior, inferior, or posterior - using the white mark. At this point in time we notice that the initial dilating, monitoring system is telling us that the nerve in anterior. Instead of taking the whole dilator out and starting all over again. We proceed with placing the k-wire and then the additional dilators into the region. We do know that the nerve is anterior to our dissection. We will be able to move the nerve posteriorly; however, we need to have better visualization. In doing so, we then place the additional dilators: the purple and then also the blue dilator. Again, this is telling us that the nerve is anterior. We then place the retractor system using AP and lateral x-rays, we fully identify the location of how the retractor system is set. Having the k-wire then placed, we take all the retractor systems out and initial dilators out. Then we use the neural monitoring system, noting that there is a nerve anterior. Below the suction, and right where the monitoring system was noted. At this point in time, we try to see whether we can fully identify the nerve itself. Sometimes we may need to have to adjust the retractor system, and clearly between these two instruments you can see the large femoral nerve. What we now want to do is try to establish an area interior to this nerve; therefore, we’ll continue to dissect the region and identify an anterior region for placement of the k-wire. With this dissection, we can clearly see that there is a disc anterior to the anterior part of that nerve. Because of the micro-bleeding, we will go ahead and proceed with the bipolars to bipolar the micro bleeding in the region closest to the posterior fade. Once this has been completed, we then can take the k-wire, which is currently posterior to the nerve, and place anterior to the nerve. The critical component is doing this under direct visualization. At this stage, you can see that the k-wire will now be removed and placed anteriorly. Once the k-wire is placed anteriorly, we then place the initial black dilator. Now, we subsequently remove the retractor system. Once the retractor system is removed, we then place the second dilator and then the last balloon dilator, noting that the nerve is now posterior. We then proceed in placing the retractor system again using a neuro-monitoring system, we know that the nerve is posterior to the blade. We then open the retractor system, and we can now see that there is muscle - small muscle bands above the disk material. Prior to doing anything with that muscle, it is imperative that we use the neuro monitoring system again to make sure that the nerve is posterior. Once we know that the nerve is posterior to the posterior blade, we are now in the safe zone. We use x-rays - AP and lateral - to help identify the location of the disc with regard to our retractor system. Once we feel we are in the safe zone - after using the monitoring system again to fully identify that the nerve is posterior to the posterior blade, and that the muscle is off of the disc - we place the shim, which will then help secure the retractor system in place. Then use an identifier to help note that we are in the safe zone, and that we have plenty of room to perform our discectomy, and then once the discectomy is performed, to place our graft and perform a fusion. This is the technique to place the nerve posterior to the posterior blade.


 Many people enter the new year already dealing with lingering neck or back pain and simply learn to live with it. Pain that lasts longer than a few weeks, continues to return, or interferes with daily activities is not normal and should be evaluated.
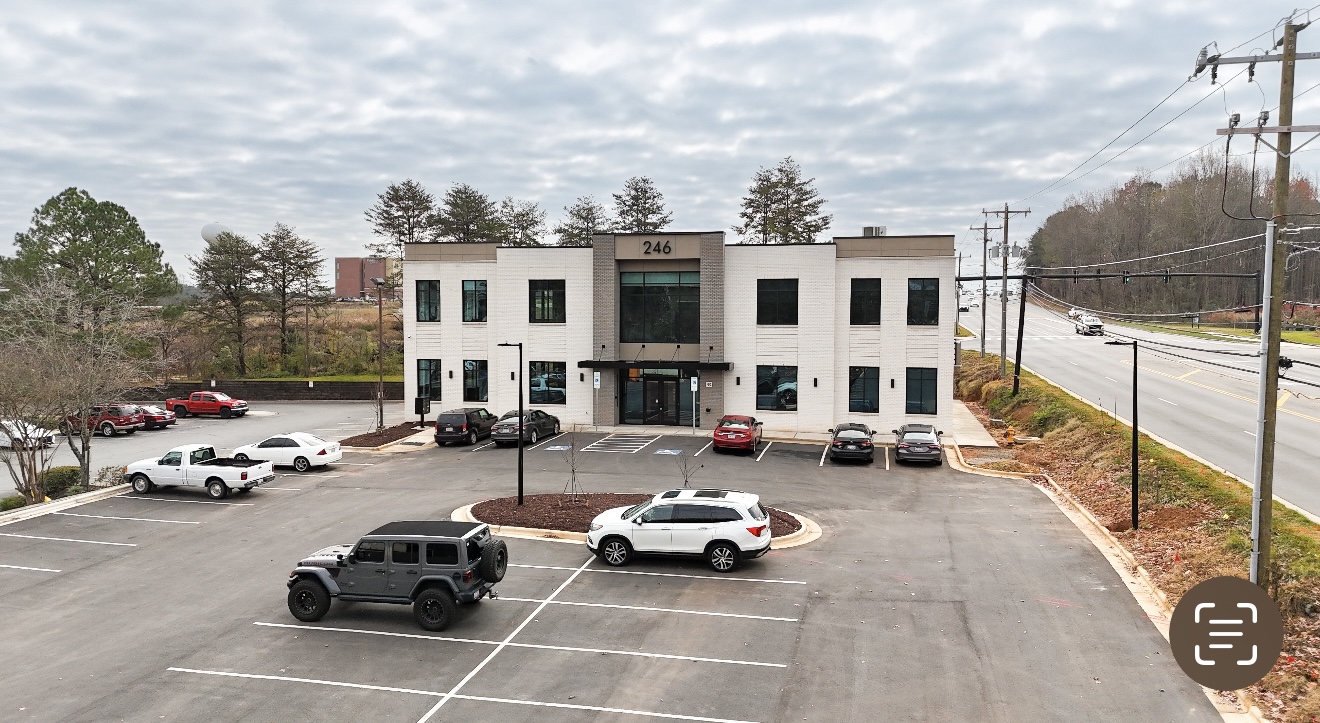
 246 Beatty Drive, Suite 100
 Under the leadership of
  We look forward to welcoming patients to our new Belmont office in January 2026.